4 Ways to Fix and Edit Underwater Photos

Reviewing your first underwater photographs can often leave you wondering where you’re going wrong, with more experienced photographers churning out beautifully enhanced images that really stand out from the crowd. The truth is, most underwater images go through at least a small amount of post production – and this is often what gives them that little extra something.
Don’t get me wrong, no amount of post production can correct very poor technique, and it’s far more important to get the image correct in camera before you turn to your computer. Nevertheless, sometimes all it takes is a few simple tweaks to turn your washed out photographs into works of art. This tutorial is going to talk you through a few essentials that you need to think about when editing your underwater photographs.


There is a wide variety of editing software available for any photographic level or budget. For underwater photos, I use Adobe Photoshop because I enjoy the definitive and precise editing it allows. However, many of the tools used in Photoshop are found to other editing programs, so keep an eye out for similarities that could help you along the way.
If it’s possible, it’s always best to start out with a raw format file. This will give you plenty of flexibility to play around in depth with the image’s colour and texture. Photoshop should automatically open your raw files into Camera Raw, which will give you all the options you need to get started on editing your image.
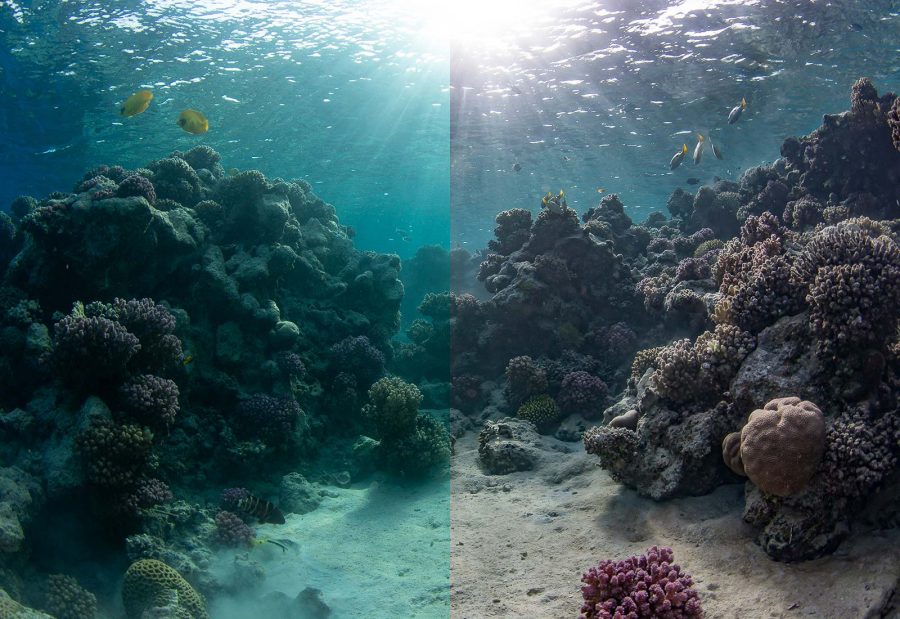
#1 Correcting your colour balance
Learning how to correctly light your underwater images is essential to minimising colour loss in your photographs. For example, if you are working with strobes, correcting your colour balance shouldn’t be too large of a problem in the editing process.
The additional light you introduce into the environment is normally enough to counteract some of the colour that you can lose at depth. If you are using natural light, however, or haven’t positioned your strobes optimally, the image can sometimes be lost in a bluish tinge, and needs a little teasing out of its colourless shell.
Read more: How to Choose a Strobe for Underwater Photography
For this, we’re going to look at your white balance and colour temperature. Our eyes process light and colour very differently to a camera, even more so underwater than on land. It’s important to understand that what you see is often not what you’re going to get in your image. Underwater images usually come out marginally blue and green, due to how the colour spectrum drops off the further below the surface we go.
To correct this, we need to firstly correct the white balance, and then tweak the colour temperature to the warmer end of the scale and balance the image with hues of red, orange and yellow. These are the three colours which disappear fastest beneath the surface. Just a small retouch is normally enough to bring your image to life.
Quick tip: if you’re struggling to get rid some aqua and green tones, try to add a little magenta tint (which is located right below your colour temperature tool).
#2 Retouching backscatter
It is always best to avoid getting backscatter in your images by correctly lighting your photographs and practising your diving technique in good conditions. However, if you’ve stumbled across some unavoidable specks in your photographs, there are simple ways to remove these in post production.
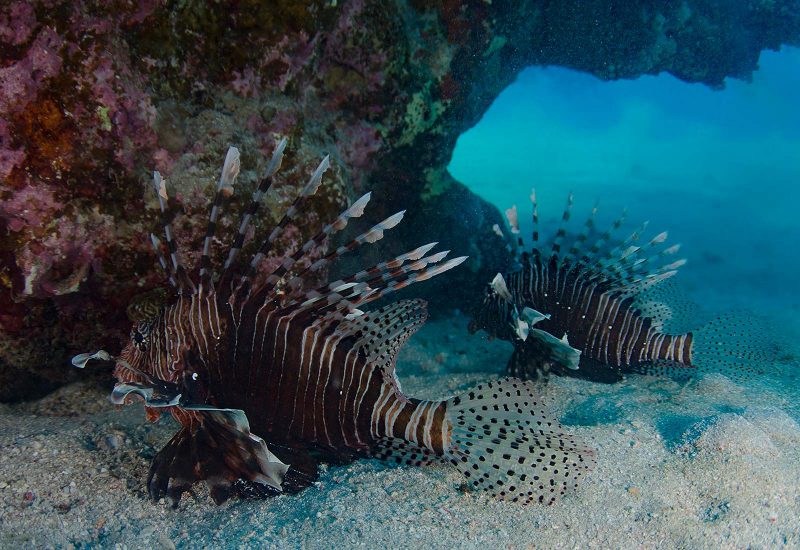
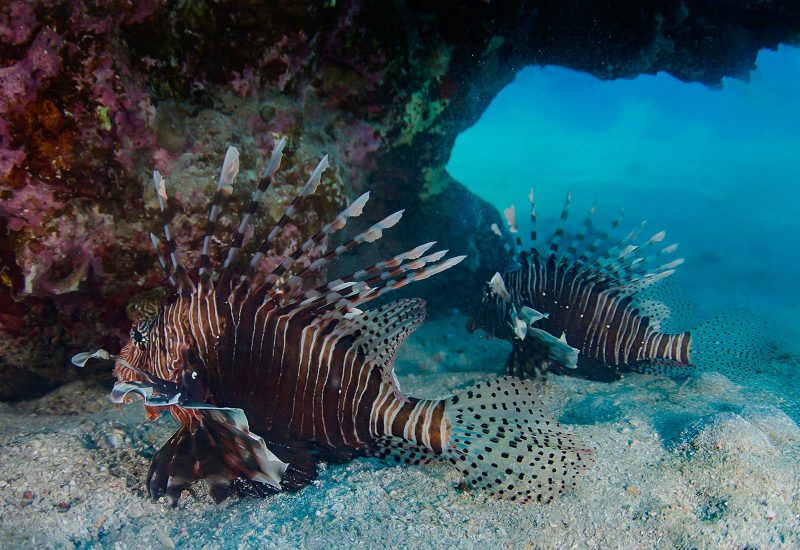
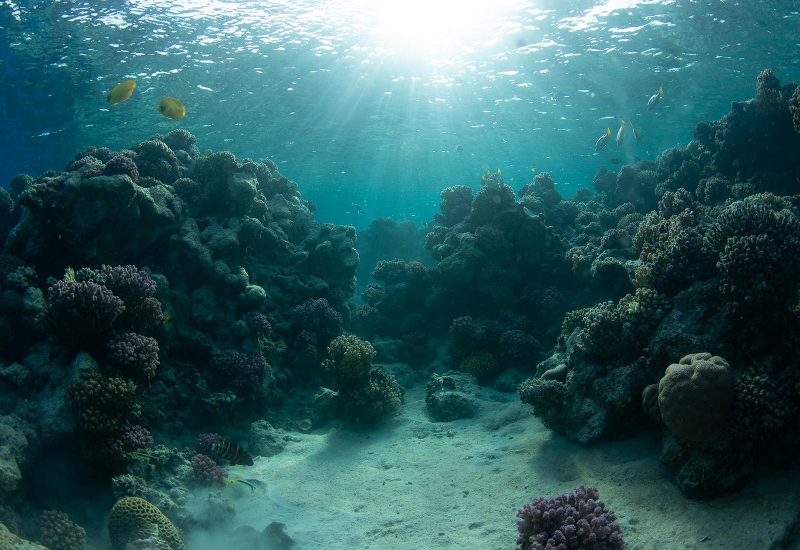
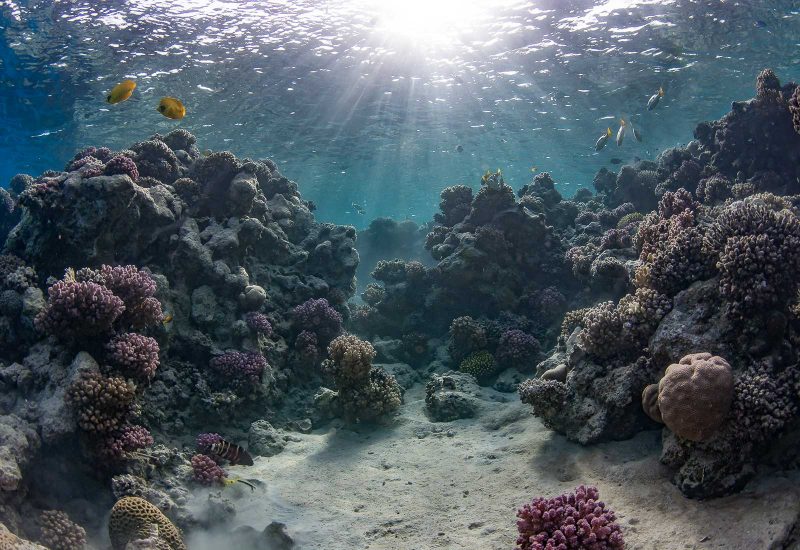
Firstly, depending on the image, darkening your shadows is a very simple way of making backscatter less noticeable. In the images below, you can see that by lifting the highlights and darkening the shadows, the backscatter around the edges of the photograph is less apparent and your eye is drawn to the subject instead. This however, will only work if you have very minor faults in your image.
Our next port of call is the cloning tool, which is a steadfast way of cleaning up your image. To do this, we need to click out of Camera Raw and open the image in the main Photoshop platform. Once the clone tool is selected, press the Alt key to select an area near the problematic section of your image to overlay onto the backscatter. Try to aim for a part of the image that has a very similar colour and tone, or your cloning can very quickly end up looking like a patchwork quilt.
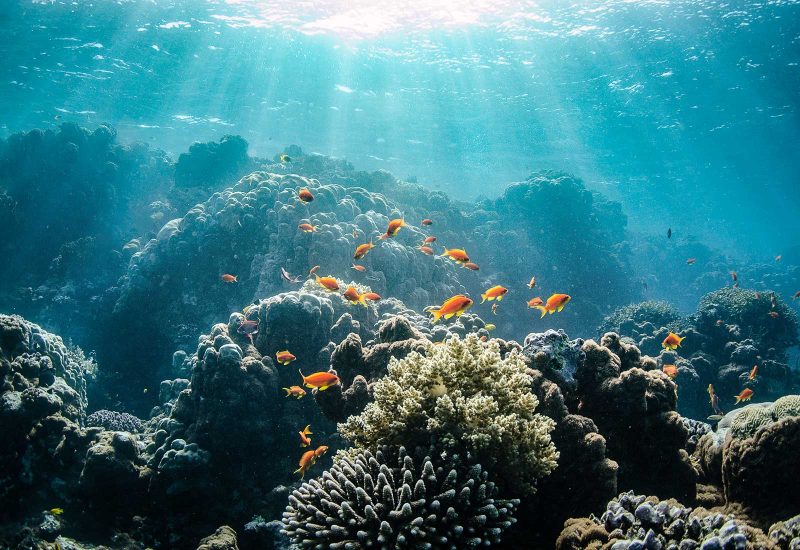
If your image is very polluted with backscatter and cloning is not an option, there is an even easier way of removing large patches of distracting specks. Firstly, use your lasso tool to draw a rough selection around the area. We then go to Edit > Fill, which will open an option box for you. It’s important to have your content section selected as ‘Content-Aware’, and tick the ‘Colour Adaptation’ box before pressing ok.
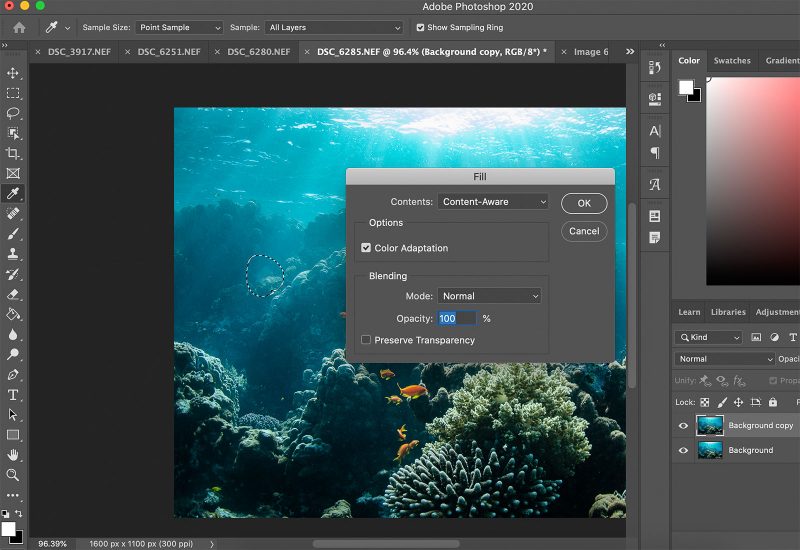
These options will remove the backscatter in your selection, whilst trying to automatically preserve the correct colour and tone. With this editing technique, you tend to get better results by only doing small selections at a time, as larger areas have more colour information to process and so can make noticeable blending blunders. As with most things, the best way to learn is with a little trial and error.
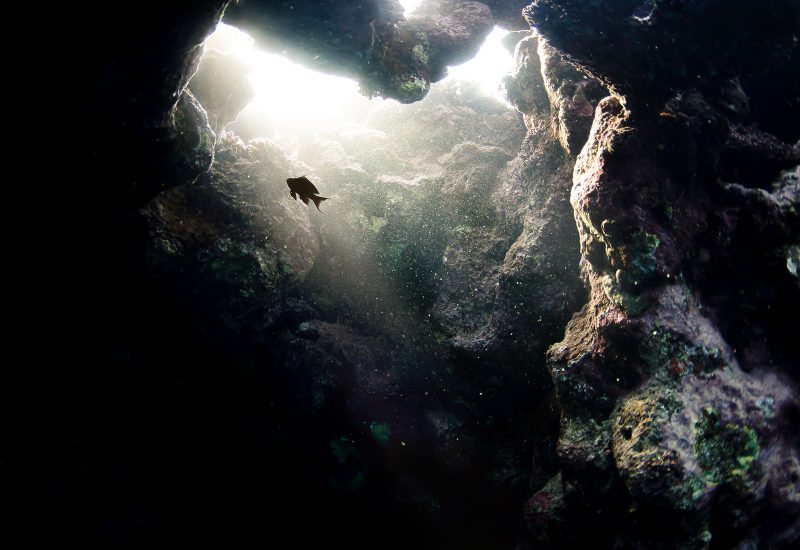
#3 Noise reduction
Naturally, there is less light beneath the surface. To counteract this in camera, you can push your ISO up, open up your aperture, or slow your shutter speed. However, with an increased ISO, or by just correcting exposure in post production, your image can be left looking grainy and noisy.
A good way of counteracting this, is by sliding to the detail tab in Camera Raw, and working our way down to the noise reduction section. Here you can increase the luminance, which will reduce the grain and generally soften the image.
By softening the image, you automatically lose sharpness within your photograph, and so only modest and incremental changes should ever really be needed. It’s best to zoom in until you can clearly see your pixel outline. This will make it obvious when you’ve pushed the tool too far, or need to counteract the luminance with a slight increase in localised sharpness around your subject.
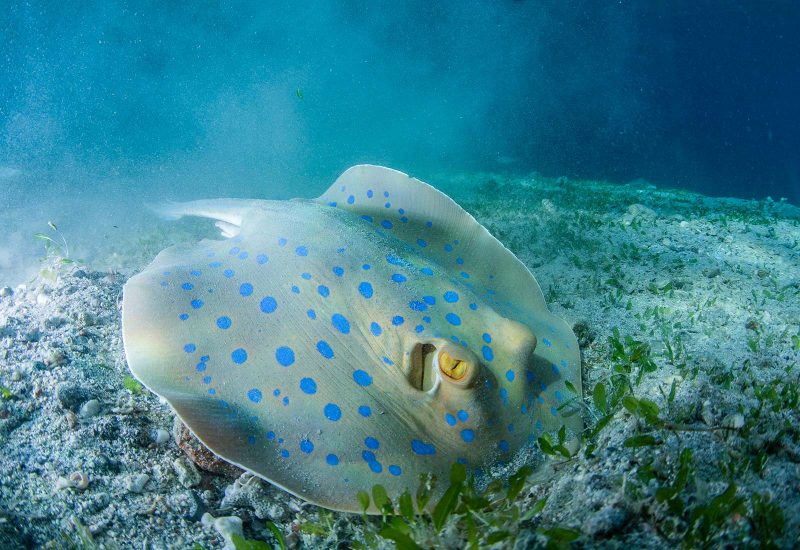
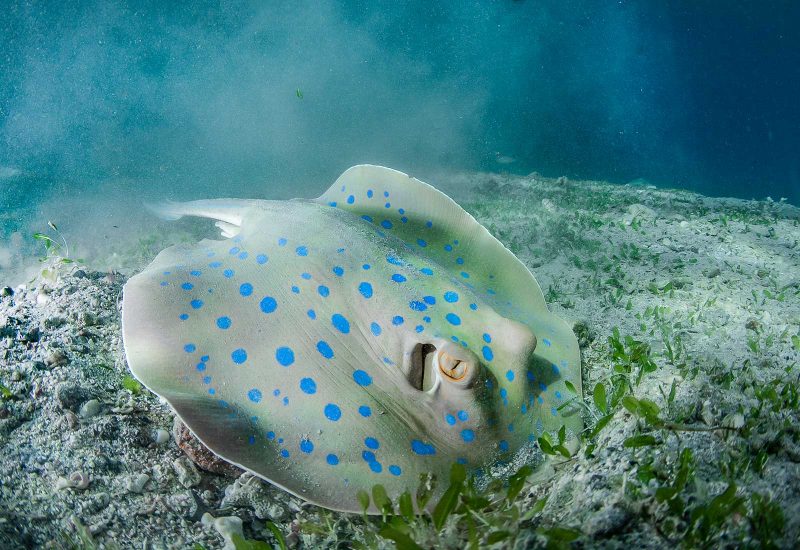
#4 Clarity, de-haze and localised sharpening
Both the clarity and de-haze tools within Camera Raw are great ways to enhance your image after retouching it. Without stating the obvious, not only do they rescue your image from the lack of clarity that you can get underwater, but they generally increase sharpness and definition.
However, these tools are not always the best to use in a professional edit. With this increase of general definition, they can also accidentally bump up the saturation, vibrance, and contrast of the image to extreme levels. You can be left trying to counteract this by using several other tools and struggling to get your colour balance correct again.
I prefer to use localised editing through layers, which allows you to moderate where you want your effects applied. Selective sharpening in particular is a great way to add a little more definition to your subject, without necessarily defining the background which is often noisy underwater.
This is usually done toward the end of your edit, when you can clearly see which parts of your image need to draw the eye.
In conclusion
So much of editing in general is trial and error, but what makes underwater editing in particular so difficult is that no two images are ever the same. Your light, colour, depth and position are an ever-changing factor beneath the surface, and what works for one image, may not work with an image that you took only seconds later.
The bottom line is that it’s far better to practise your camera technique than to rely on post production to ‘fix’ your images. However, these few basics should give you a good idea of how to balance a photograph and really make it stand out.
The fantastic thing about editing is that you have complete freedom to experiment without the worry, as any changes can easily be reversed with a raw file. My general rule of thumb, however, is everything in moderation!